Upload and Import Data
Add images, videos and label files from your computer, copy in a sample set, or import from cloud storage.
Media reaches a repository in three ways: uploaded from your computer, copied from a ready-made sample, or imported from cloud storage. All three happen in the Add Content to Repository dialog.
Open the upload dialog
- Inside a repository, click Upload more medias under Quick actions on the Dataset tab.
- In an empty repository or folder, click the drop area, or drag files straight onto it.
- Right after you create a repository, the dialog opens by itself.
Media lands in the folder you're looking at, so open the destination folder first. Adding media needs permission to change media.
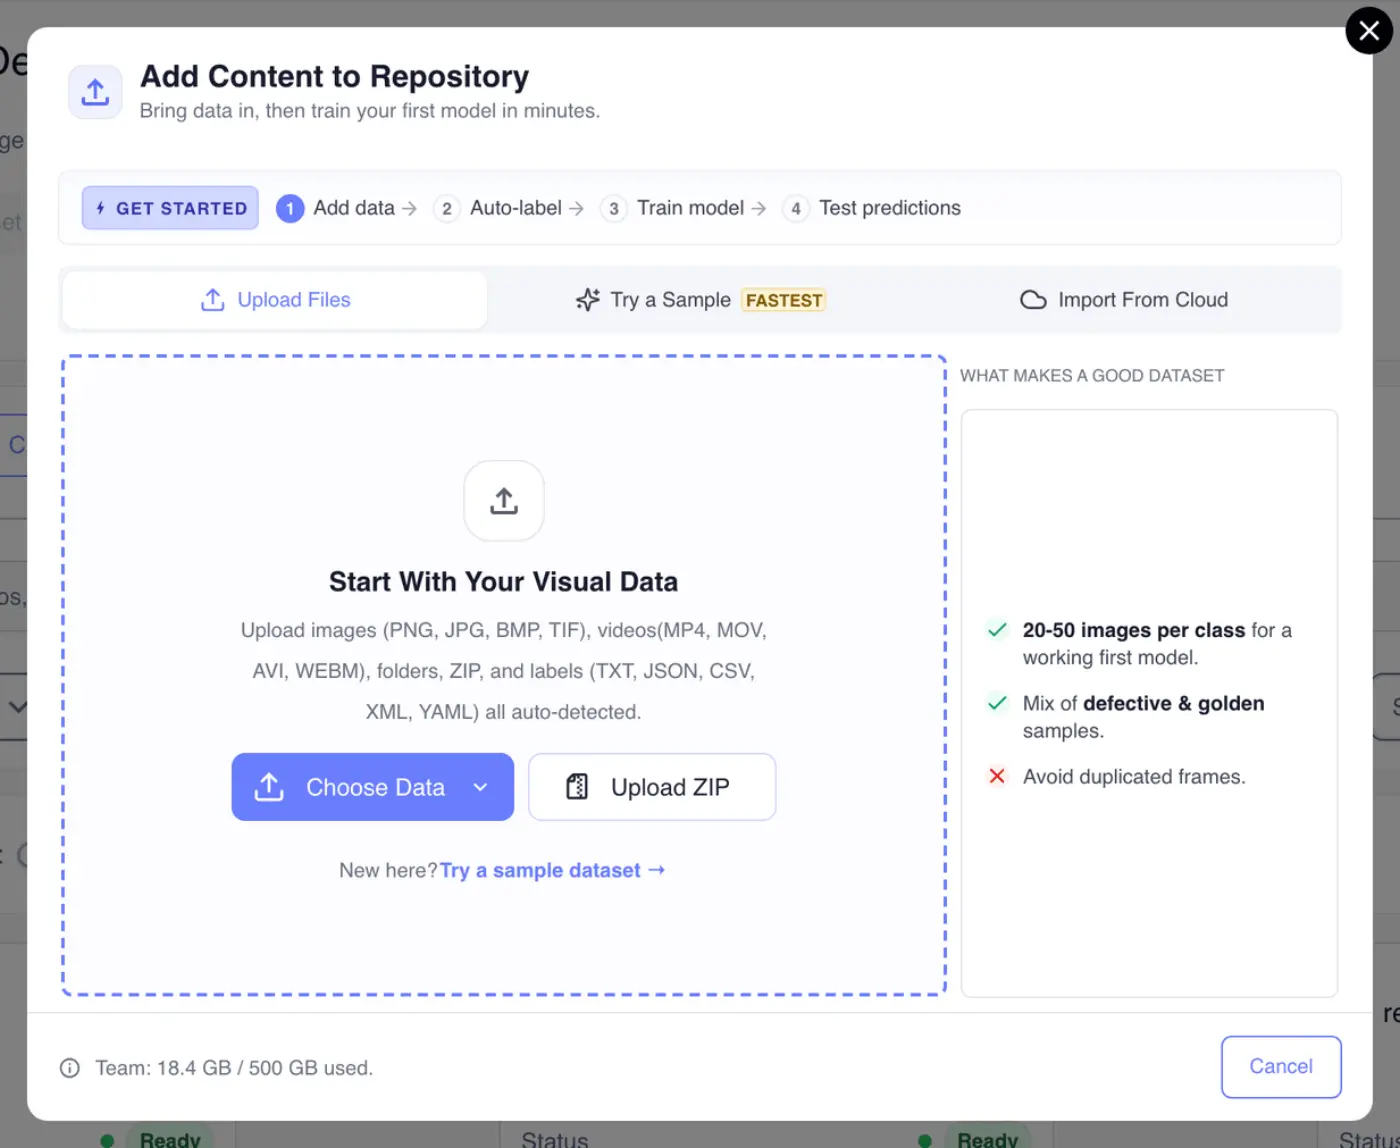
The strip at the top of the dialog is a reminder of where this leads: Add data, Auto-label, Train model, Test predictions. The line at the bottom shows your plan and how much of its storage you've used.
Upload files from your computer
On the Upload Files tab, drag files or folders onto the drop area, or:
- Choose Data then Files Upload to pick individual files;
- Choose Data then Folder Upload to pick a whole folder, keeping its subfolders;
- Upload ZIP to pick a ZIP archive, which is unpacked for you after upload.
These formats are accepted:
| Kind | Formats |
|---|---|
| Images | PNG, JPG/JPEG, BMP, TIF/TIFF |
| Videos | MP4, MOV, AVI, WMV, FLV, WEBM |
| Archives | ZIP |
| Label files | JSON, CSV, XML, TXT, YAML, plus YOLO class lists (.yml, .names, .labels, _classes.txt) |
The panel beside the drop area has three rules of thumb: 20 to 50 images per class for a working first model, a mix of defective and golden samples, and no duplicated frames.
Know the limits
- One upload takes at most 1,000 images and videos. A bigger selection is refused with a message suggesting you put the files in a ZIP, which has no such limit.
- Files in any other format are listed under Unsupported files with their size. Remove All clears the list; they're never uploaded.
- Label files can't be uploaded on their own. Add them together with the images they describe.
- Images larger than 75 MB are split into smaller segments after upload. The dialog warns you with Large files detected.
Know why a file was refused
Before anything is staged, every image and ZIP is opened in your browser to make sure it can be read. The drop area shows Validating files… while this runs, which can take a moment with large images.
A file that fails is left out and named in a message: an image that's empty or corrupted, or a ZIP that's empty or not really a ZIP. The rest of the selection carries on, so one bad file doesn't block the batch. TIFF images and videos are checked on the server after upload instead.
Review the list and start the upload
Your files appear under Ready to upload with a count. Remove any you don't want with the icon on its row, and use Upload more files to add more. Total File and Total Size at the bottom add everything up.
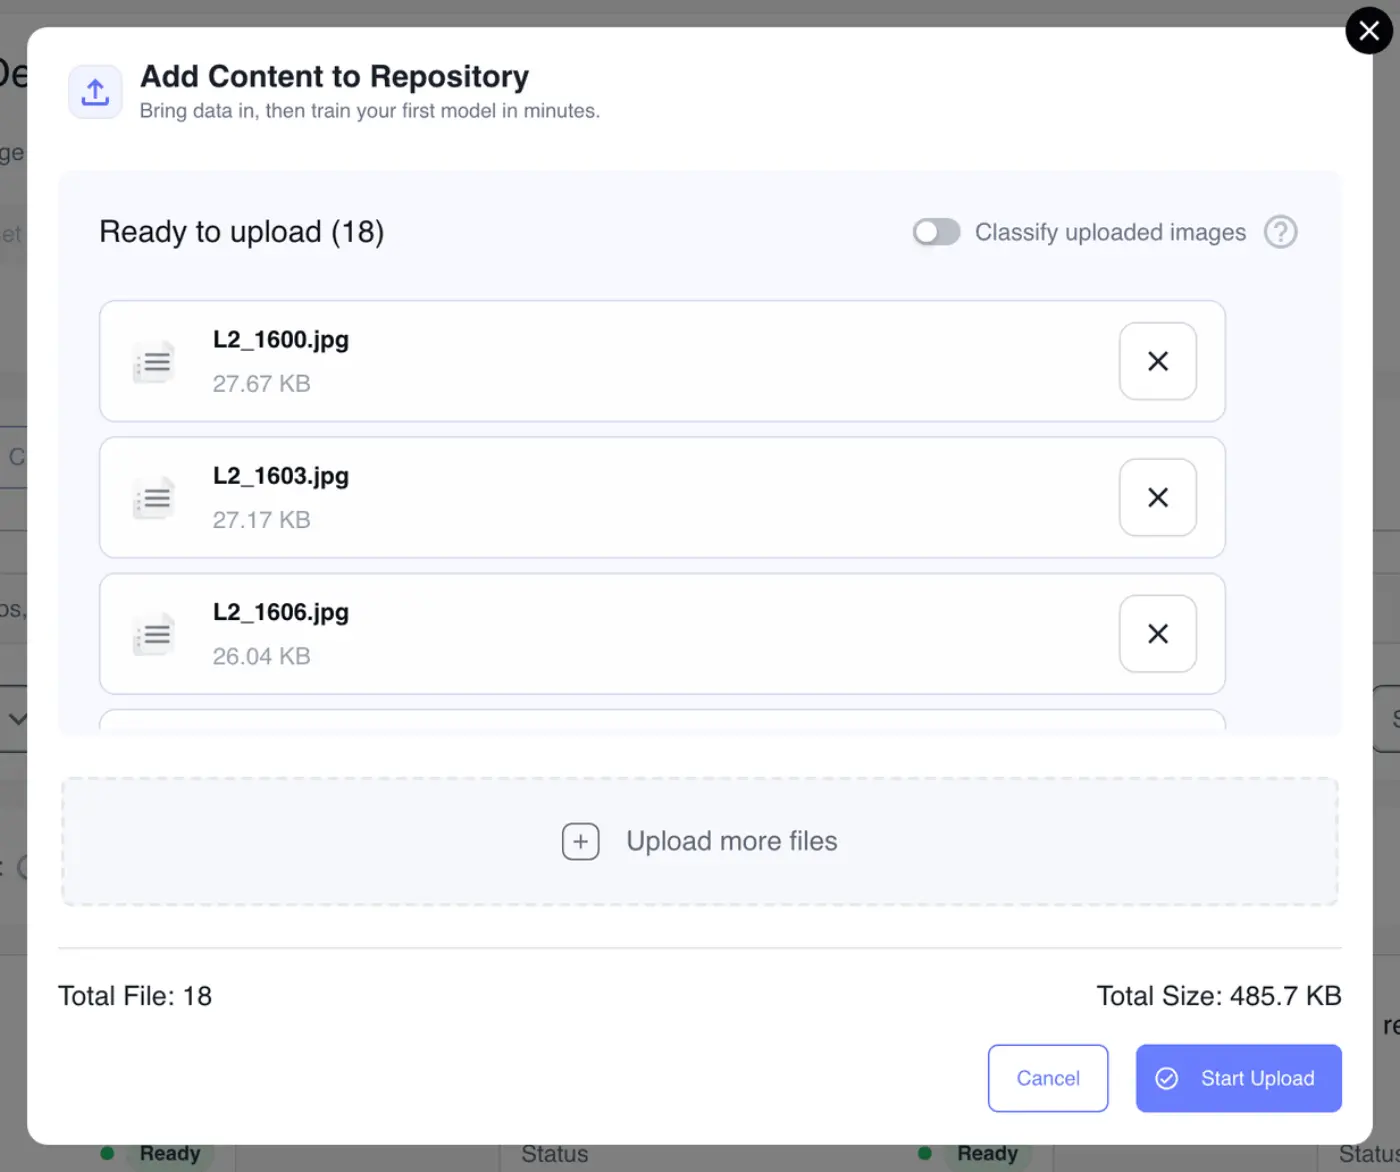
Nothing is sent until you click Start Upload.
Label images by folder name
Turn on Classify uploaded images before you start, and each image gets its folder's name as its class. A folder called scratch with 40 images labels all 40 as scratch.
This only works for media that kept its folder structure, which means a dragged folder, Folder Upload or a ZIP with folders inside. Files picked one by one have no folder to read. The switch is hidden when your selection includes label files, since those take over.
Bring in existing labels
If your images already have labels from another tool, drop the label files in with the images, for example COCO JSON, Pascal VOC XML or YOLO TXT files. For YOLO, include the class list file so class numbers are turned into names. When you click Start Upload, the dialog first reads the label files (Processing annoations files) and then uploads the images with their labels attached.
If the label files can't be read, an Error dialog says The annotation files contain unsupported structure. Click Upload unlabeled images to send the images without labels, or cancel, fix the files and try again.
Choose what happens to TIFF images
Browsers can't display TIFF images, so a batch that includes any asks Convert TIFF File to PNG? before uploading.
- Yes, Convert converts them to PNG after upload, so you can preview and label them.
- No, Keep as TIFF stores the originals as they are. You can convert or download a single TIFF later from its card.
You're asked once per visit to the dialog.
Watch the upload and retry failures
While files upload, a bar shows the overall progress and a line such as Uploading 120 files - 87 successful, and each row shows its own state. A failed file can be retried from its row, and a retry button next to the progress retries every failed file at once.
When it's finished the bar reads Uploading Completed and the main button changes to Done. The new media goes into the repository's draft, and the page switches to the draft so you can see it. Save the draft when you want it in a version; see Repository Details and Versions.
Closing the dialog mid-upload asks You have files still uploading. Are you sure you want to leave? To stop an upload on purpose, use the cancel button next to the progress: Cancel uploads? warns that the files already uploaded in this batch will be deleted. Click Yes, stop or No, keep uploading.
When you run out of storage
If the files you've staged need more storage than you have left, the dialog says so before sending anything: how far over you are, how many files are queued and how much space is available. Your files stay staged.
- Add Extra Storage opens a purchase step inside the dialog. Back returns to your files.
- Upgrade plan opens the plan picker in a new tab.
Both need permission to manage billing or the plan; without it they're disabled and hovering them names the missing permission. See Plans and Billing.
Copy in a sample set
The Try a Sample tab (marked Fastest) copies a small, already-labeled repository into yours. It's the quickest way to try labeling and training before you bring your own data.
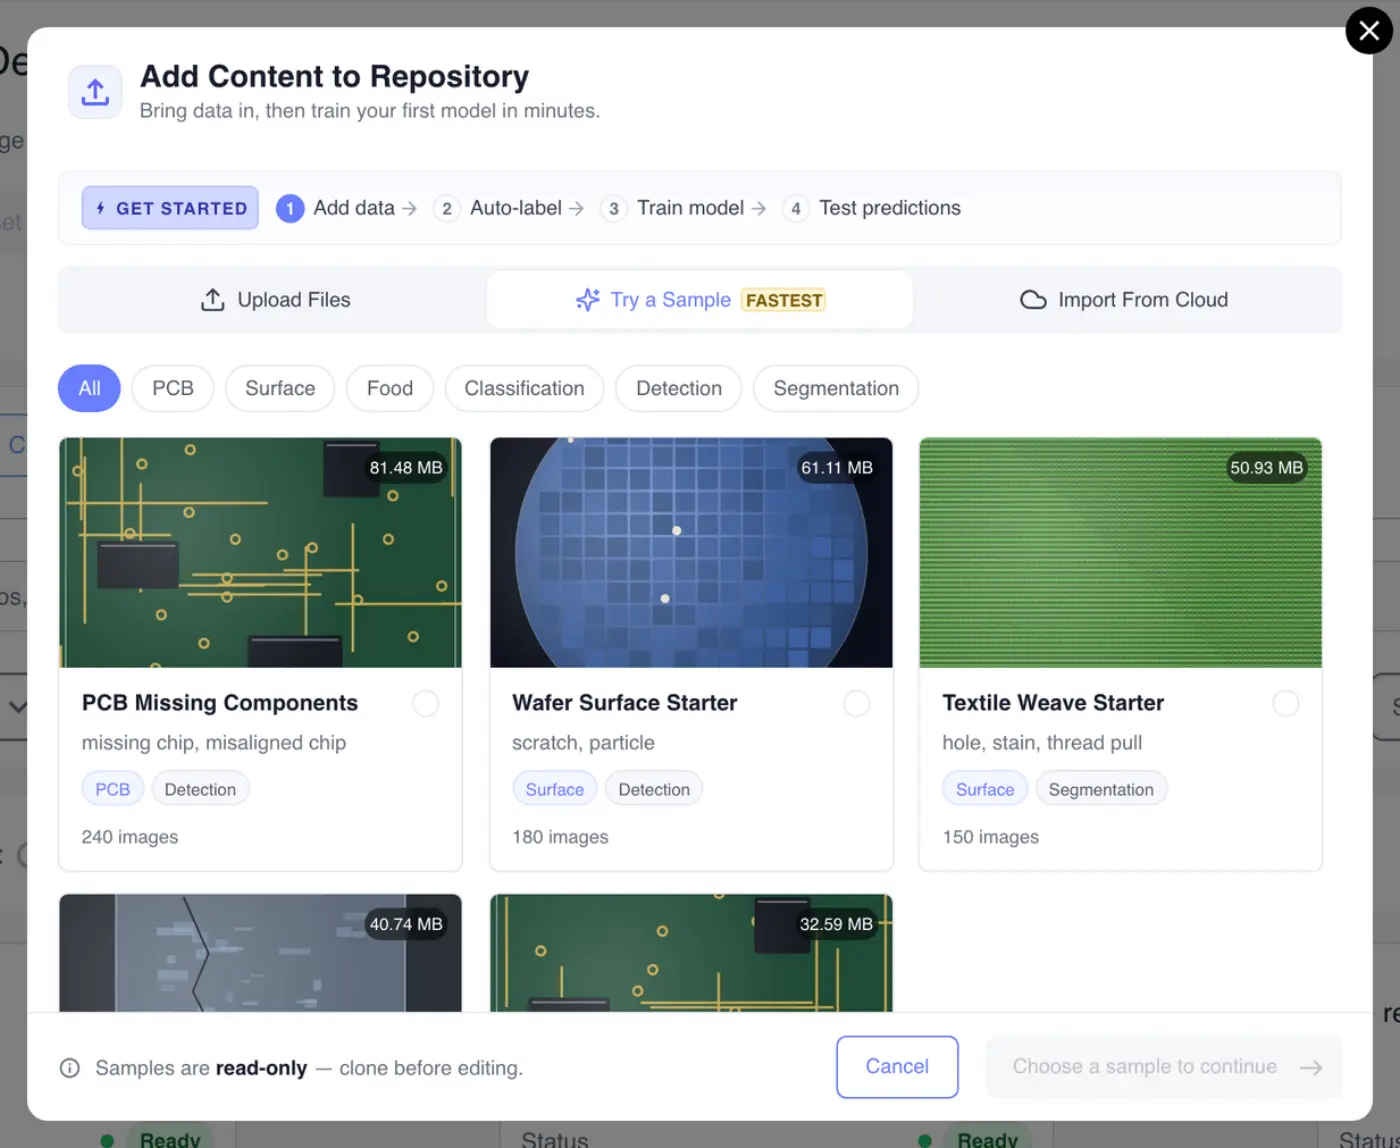
- Narrow the samples with the chips at the top (All, PCB, Surface, Food, Classification, Detection, Segmentation).
- Click a sample's card.
- Click Continue with followed by the sample's name.
The dialog shows the import's progress and ends on Done. The copy is yours to change; the original sample isn't affected. When the sample goes into your very first repository, the labeling tool opens on its first image.
Import from cloud storage
The Import From Cloud tab copies files from a storage provider. It's a one-off copy of the files you pick, not an ongoing sync.
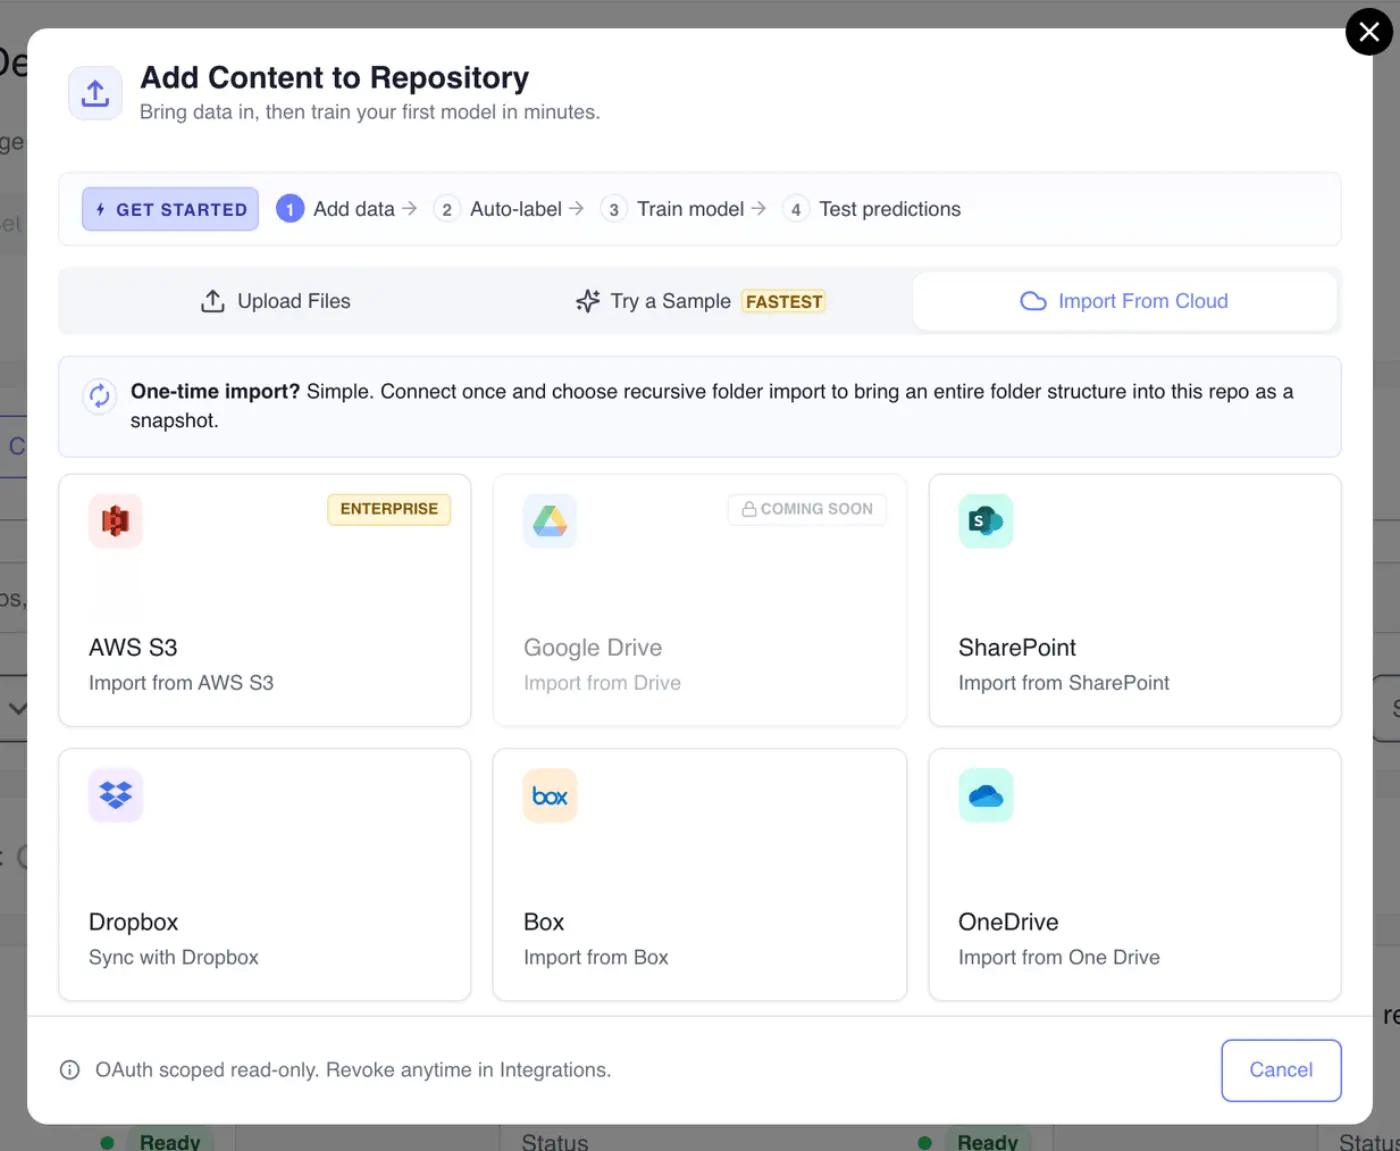
- Click a provider: AWS S3, SharePoint, Dropbox, Box or OneDrive. Google Drive is marked Coming soon and can't be picked yet.
- Sign in to the provider in the window that opens and pick your files or folders. Access is read-only. For AWS S3, enter your Access Key, Secret Key, Bucket and Region, click Authorize, then browse the bucket and click Import.
- Check the list of chosen files. If they're in class-named folders, turn on Classify uploaded images.
- Click Start Upload.
Each file shows its own state as it's copied. The import runs on the server, so Import in background closes the dialog and leaves it running; you get a notification when it's done. The dialog ends on Importing Completed with the number of files imported, and Upload more files starts another import.
While one import is running, the provider cards are disabled with Please wait for the current import to finish.