Getting Started
Create your first repository, add images or videos to it, and find your way to labeling and training.
Everything you do starts with a repository: a set of images and videos you label and train models on. This page walks you from an empty workspace to a repository with media in it, and points you at what comes next.
Know the three levels
| Term | What it is |
|---|---|
| Workspace | The organization you signed in to, such as Northwind Components. It owns the people, the plan and the billing. |
| Project | One body of work inside the workspace, such as Wafer Inspection. It holds repositories, models and tasks. |
| Repository | A set of images and videos you label and train on, such as Wafer Surface Defects. It belongs to one project. |
A workspace can hold many projects, and a project can hold many repositories. Most teams keep one project per product line or customer and add repositories as new data arrives.
Start from an empty workspace
A workspace with no projects opens on a welcome screen with one large button, Create Your First Repo. Under it, Import your files from shows shortcut cards for DropBox, Google Drive, OneDrive, Box, SharePoint and Local Folder.
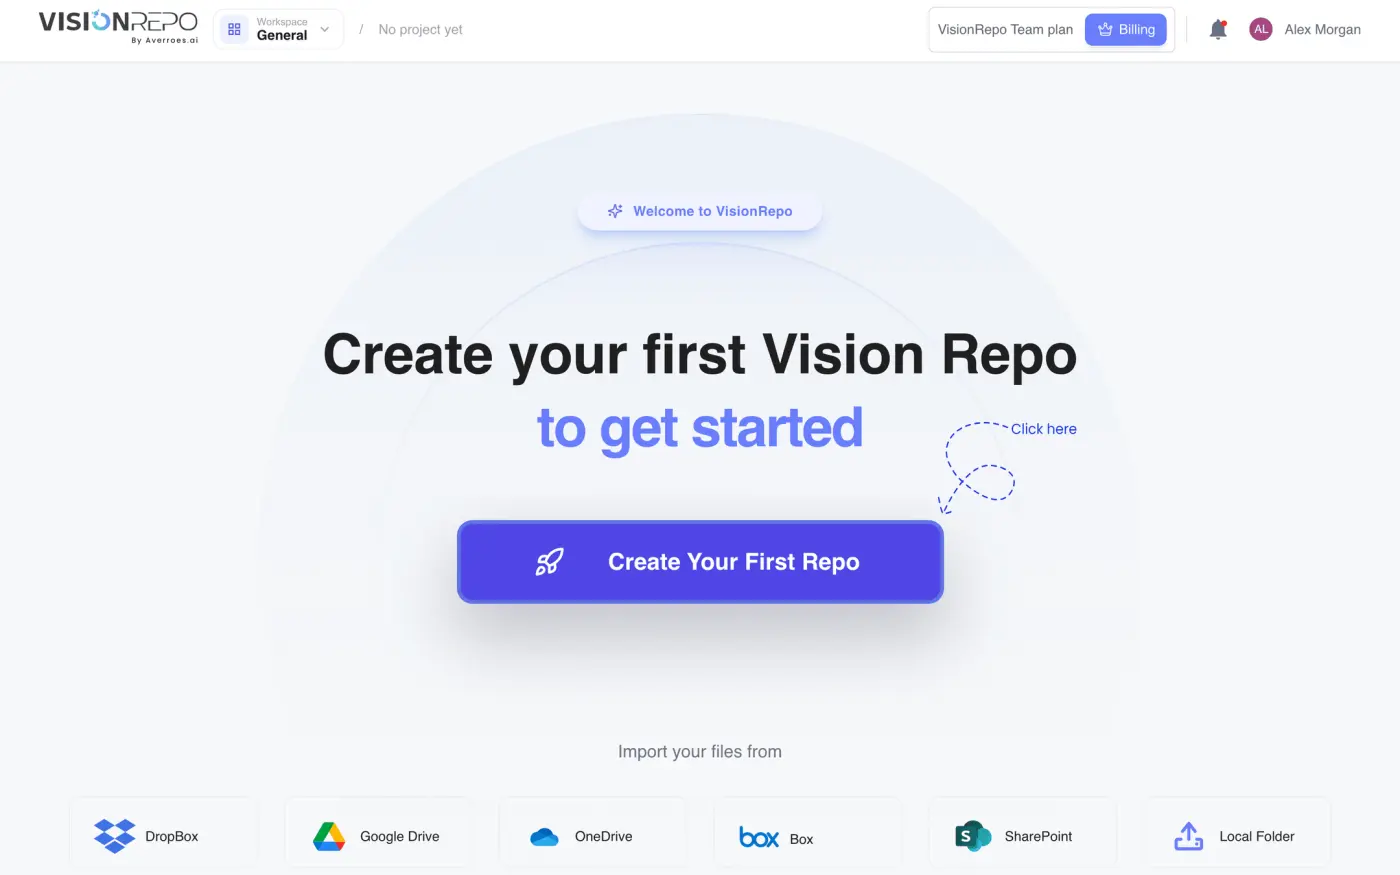
Every one of those buttons does the same first thing: it asks you to name a repository, because media has to land somewhere. A cloud card also remembers which provider you picked and opens it once the repository exists.
Once the workspace has a project, you never see this screen again. Opening the app takes you straight to the repository list of your default project.
If your plan's repository allowance is already used up, the button opens an upgrade prompt instead of the form.
Create your first repository
- Click Create Your First Repo, or one of the import cards.
- In Create New Repository, type a name in the required Repository Name field. A name that says what the media is and where it came from, such as
Wafer Surface Defects, is easier to find later. - Optionally add a note in Description (optional).
- Click Create & Continue. The button stays disabled until the name has something other than spaces in it.
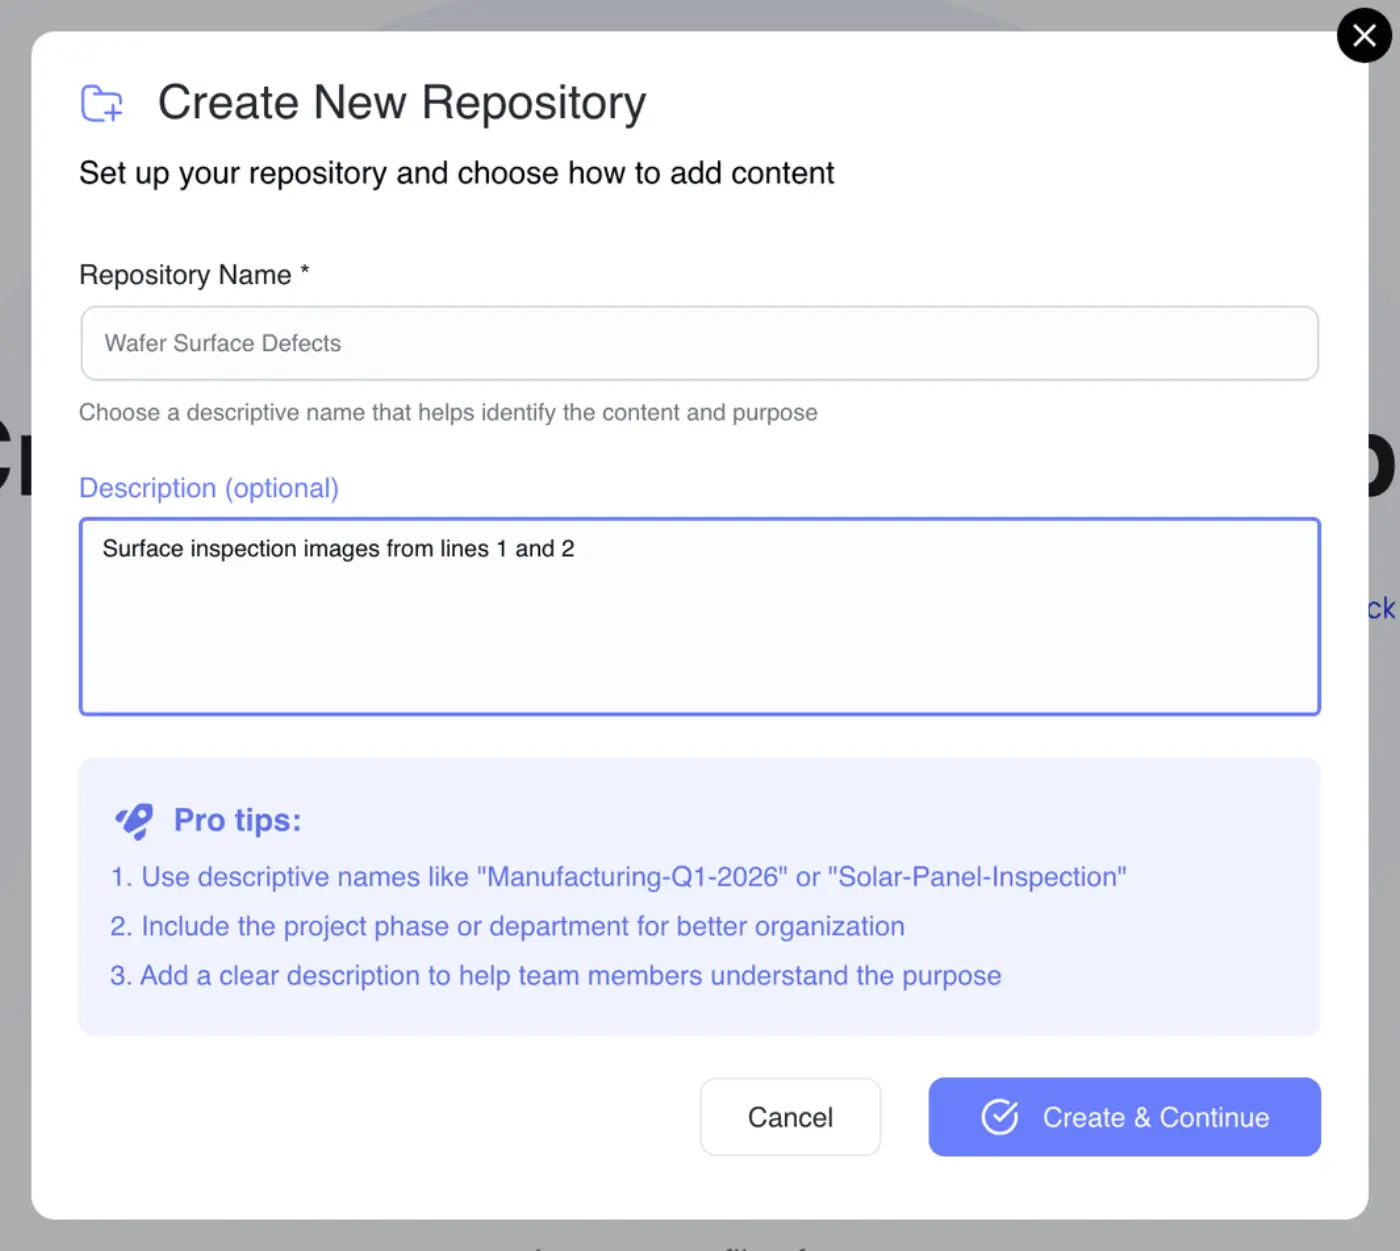
Your first repository also creates the project that holds it. The project is named after the repository with the word "project" added (Wafer Surface Defects project), and you can rename it later. See Projects.
Add media to it
As soon as the repository exists, Add Content to Repository opens with three tabs:
- Upload Files takes files, folders or a ZIP from your computer.
- Try a Sample copies a small, already-labeled sample set into your repository. It's the quickest way to see labeling and training work before you bring your own data.
- Import From Cloud copies files from AWS S3, SharePoint, Dropbox, Box or OneDrive (Google Drive is marked Coming soon).
When the upload finishes, click Done and you land on your new project's repository list. If you picked a sample, the labeling tool opens on its first image instead, so you can look at the labels right away.
You can also close the dialog and add media later. Everything about the dialog, including file limits and supported formats, is in Upload and Import Data.
Find your way around afterwards
Once a project exists, the app opens on its repository list. The header across the top is how you switch project, reach your account and settings, and see notifications; Navigating Your Workspace walks through it.
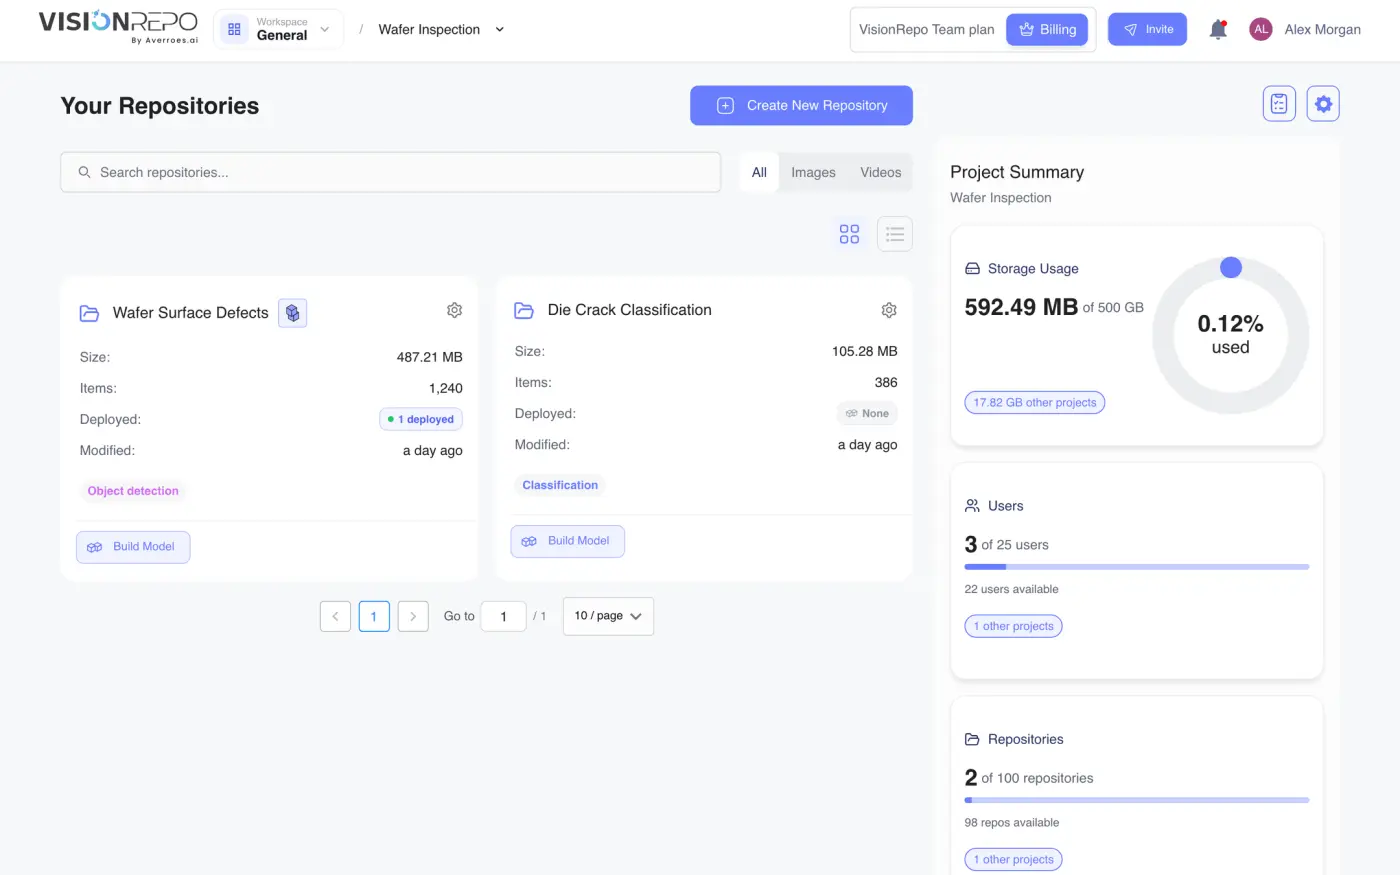
Click a repository card to open it. Inside, the Dataset tab holds the folders and media, and the buttons at the top let you build a model, assign tasks and manage versions.
Where to go next
- Repositories covers the repository list, the card menu, downloads and the trash.
- Organizing Media covers folders, search and filters, and moving or deleting many items at once.
- Labeling Images covers drawing and assigning labels.
- Build a Model covers training once you have labeled data.
- PCB Inspection covers PCB projects, which start from a different screen.
- Solar Sites and Flights covers Solar sites, for drone inspections of solar farms and rooftops.
Your plan includes Vero, an assistant that can do much of this for you: ask it to create a repository, label images from a description or train a model, and it does the work after you approve it. See Vero.